
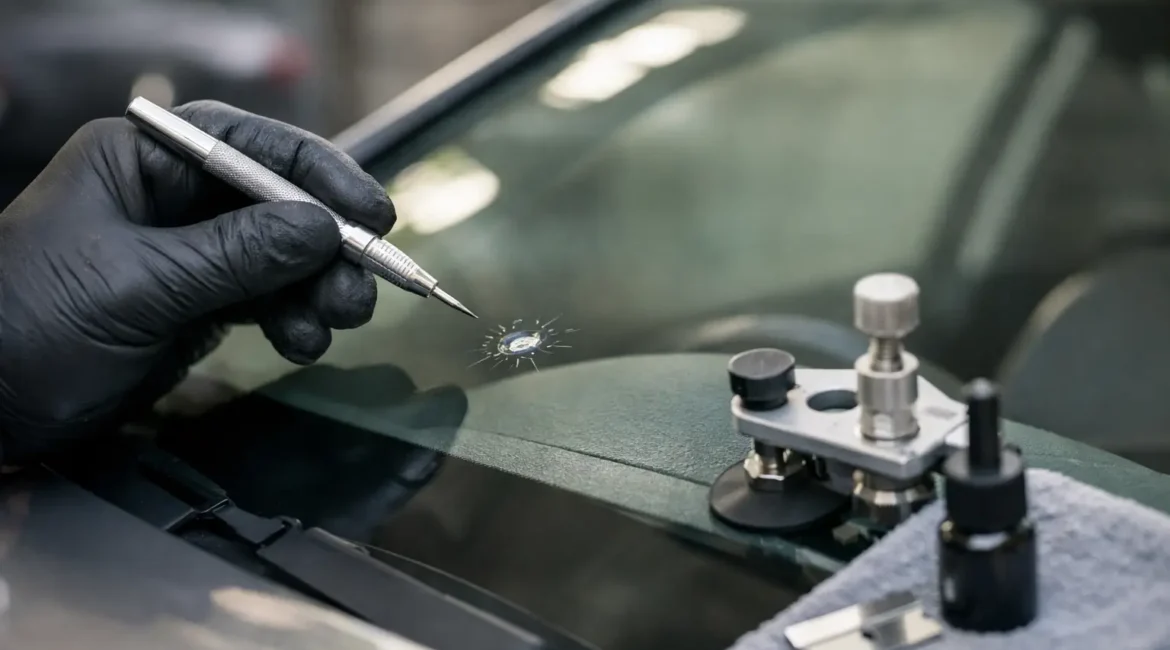
A tiny mark on the bonnet can look harmless after a motorway journey, but exposed paint damage rarely stays tiny for long. Knowing how to repair stone chip damage promptly can protect the metal beneath, preserve your car’s appearance and help prevent a straightforward cosmetic repair becoming a rust problem.
Stone chips are especially common on bonnets, bumpers, front wings, door edges and lower sills. Glasgow’s wet roads, winter grit and everyday commuting can make even a small break in the paint finish more vulnerable. The right repair depends on how deep the chip is, where it sits and whether corrosion has already started.
Why stone chips need attention
Modern vehicle paintwork is made up of several layers. Beneath the clear coat and colour coat sit primer and, on steel panels, bare metal. When a stone breaks through those protective layers, moisture can reach the metal and begin the corrosion process.
Not every chip needs a full bodyshop repair. A shallow mark that has only affected the clear coat or top colour layer may be suitable for careful touch-up work. However, a chip that has reached primer, exposed metal, or started to show brown staining needs more than a quick dab of paint. Simply covering rust without removing it can trap the problem underneath and allow it to spread.
There is also the visual side. A poorly matched touch-up can be more noticeable than the chip itself, particularly on metallic, pearlescent and light-coloured cars. That is why the condition of the panel matters just as much as the size of the damage.
Check the depth before choosing a repair
Start by washing the affected area with car shampoo and drying it fully. Road film can hide the true size of a chip, while wax and dirt stop touch-up products bonding properly. Inspect the mark in good daylight rather than relying on a garage light or a quick glance at the petrol station.
A shallow chip may look white, grey or slightly dull but remain smooth to the touch. If you can see dark metal, a rough crater, lifted paint around the edge or any orange-brown discolouration, the repair needs more preparation. Chips on plastic bumpers cannot rust, but they can still let paint peel back and spoil the finish.
It is worth checking nearby chips at the same time. One visible mark often means the car has picked up several smaller impacts across the leading edge of the bonnet or bumper.
How to repair stone chip damage at home
A DIY repair can be worthwhile for a small, isolated chip where there is no rust and you are comfortable accepting that it may not be invisible at close range. The aim is protection first, then a neat appearance.
You will need the correct paint code for your vehicle, a suitable primer if the chip reaches metal or plastic, matching touch-up paint, clear coat where required, panel wipe or degreaser, and fine abrasives. The paint code is normally found on a manufacturer label in the door shut, under the bonnet or in the service documentation. Do not assume the colour name alone is enough, as many manufacturers use several shades of the same colour.
Prepare the damaged area
Clean and dry the panel thoroughly, then use a small amount of panel wipe around the chip. Avoid soaking the area. If there is light surface rust, it must be carefully removed back to clean metal using a fine abrasive or a very small sanding tool. Take your time – enlarging the damaged area unnecessarily can make the final repair harder to hide.
If the surrounding paint is lifting, remove only the loose material until you reach firmly bonded paint. Wipe away dust before moving on. This preparation stage is where many home repairs go wrong. Paint applied over contamination, loose edges or corrosion will not last.
Build the paint in thin layers
Where metal is exposed, apply a very small amount of primer first and allow it to dry as directed. Then add the colour coat in thin layers rather than trying to fill the chip in one go. A toothpick, fine applicator or small touch-up brush generally gives better control than the brush built into a bottle cap.
Let each layer cure before adding the next. Overloading the chip leaves a raised blob that catches the light and can be difficult to flatten without damaging the surrounding finish. Once the colour has built to the right level, apply clear coat if your repair system requires it.
After the paint has fully cured, a very light polish may help blend the surrounding area. Do not sand or polish fresh paint too aggressively. Curing times vary, and rushing the final stage can pull the repair out or leave it dull.
When DIY touch-up is not the best answer
Touch-up paint is designed to protect a small damaged point. It is not a substitute for a proper refinishing process where the panel has multiple chips, deep gouges or visible corrosion. A professional repair is usually the better choice when the chip is on a highly visible area, such as the centre of the bonnet, or when the car has metallic or pearlescent paint that is difficult to match.
The same applies if paint is flaking around the chip, rust is creeping under the surrounding finish, or the damage has been caused by something more substantial than a loose stone. A deep impact can distort a panel as well as damage its paint, meaning the repair may need filling, shaping and refinishing rather than a simple touch-up.
A bodyshop can assess whether a localised SMART repair will give a durable result or whether the affected panel needs a wider paint blend. This is not about selling a bigger job than necessary. Blending is sometimes the only way to avoid a visible colour edge, especially where paint has faded over time or the original finish contains metallic flakes that must sit evenly.
What a professional stone chip repair involves
A professional repair starts with a proper inspection, not a guess based on a photo. The damaged area is cleaned, corrosion is removed if present, and the edges are prepared so the new coating can bond correctly. Primer, colour and lacquer are then applied using the right materials for the vehicle’s finish.
For a localised repair, the technician blends the new colour into the surrounding paintwork before applying lacquer and polishing the area back to a consistent gloss. On badly peppered bonnets or panels with widespread stone damage, refinishing the full panel can produce the cleaner, more uniform result.
The trade-off is cost versus finish. A carefully applied touch-up is affordable and useful protection for a small chip. Professional refinishing costs more, but it can restore a smoother, more showroom-quality appearance and is the sensible option where resale value or pride in the vehicle matters.
At Unique Bodywork, we assess the damage honestly and recommend the repair that makes sense for the panel, your budget and the standard of finish you want. For drivers across Glasgow and the surrounding area, that can mean a quick cosmetic repair or a more involved paint restoration where the condition demands it.
Preventing fresh stone chips
No paint finish is completely immune to road debris, particularly if you regularly drive on motorways or follow traffic closely on gritted roads. Keeping a sensible distance from vehicles ahead helps, as does washing winter grime away before it sits on the paintwork.
A quality wax, sealant or ceramic coating can make cleaning easier and add a degree of protection against contamination, but it will not stop a sharp stone at speed. For vehicles that spend a lot of time on fast roads, paint protection film on high-impact areas such as the bonnet edge, bumper and mirrors may be worth considering. It costs more upfront, but it can be a practical investment on a newer car with unmarked paintwork.
Do not wait for a small chip to become the first sign of a larger problem. A quick inspection and the right repair now can keep your paintwork protected, your car looking cared for and your next bodyshop visit far simpler.