
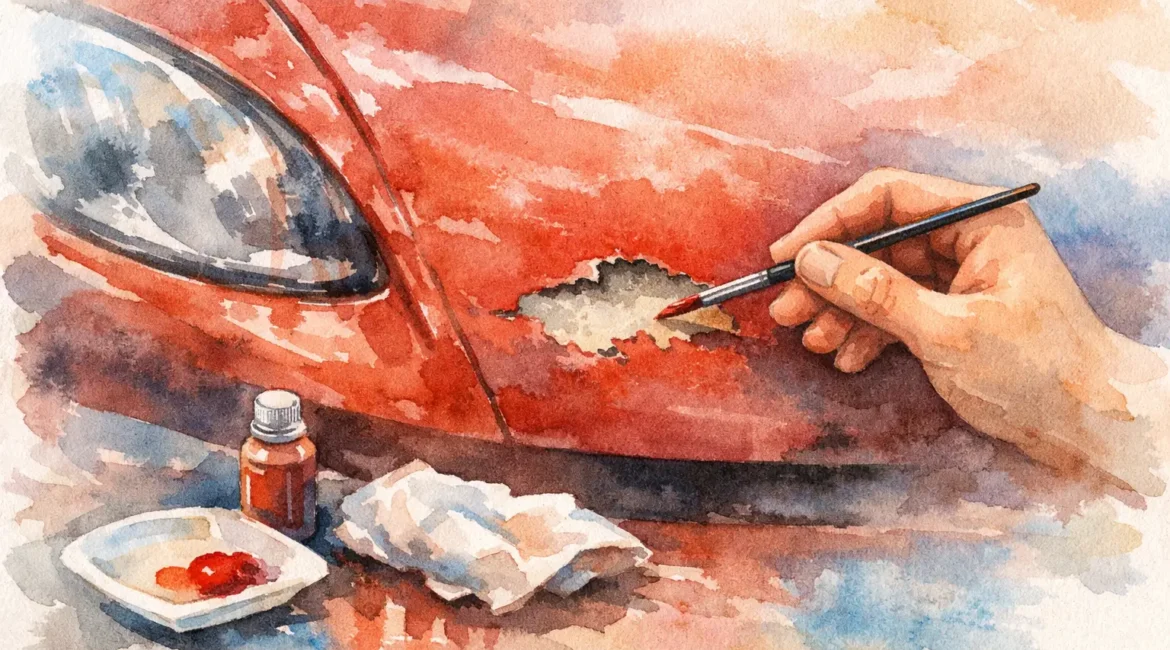
A paint chip rarely looks like much at first. Then the light catches it, the bare metal starts to show, and suddenly that one tiny mark is all you can see every time you walk up to the car. If you are wondering how to fix car paint chips without making the panel look worse, the right answer depends on the size of the damage, the panel involved, and how close to a factory finish you want to get.
For some chips, a careful touch-up at home is enough to tidy the area and protect the bodywork. For others, especially on visible panels like bonnets, doors and front wings, a proper refinishing repair is usually the better option. The trick is knowing where the line is.
How to fix car paint chips without making them stand out
The biggest mistake people make is treating every chip the same. A pin-sized stone chip on the bonnet is one thing. A deeper chip with cracked edges, rust staining or missing lacquer is another. If the damage is shallow and localised, a touch-up can improve the appearance and seal the exposed area. If the paint has lifted around the chip, or the colour sits on a metallic or pearlescent panel, DIY results can be hit and miss.
Before you start, wash the area properly and dry it fully. Any wax, polish, road film or grit left around the chip will get trapped in the repair. That usually leaves a raised, dull or dirty-looking finish. After cleaning, inspect the chip in good daylight. You are checking for three things: whether you can see primer, whether bare metal is exposed, and whether there is any sign of rust starting.
If there is rust, even a tiny amount, it needs dealt with first. Painting over it does not solve the problem. It only hides it for a while.
What you need for a small chip repair
For a basic repair, you will usually need the correct touch-up paint, a fine applicator, panel wipe or a degreaser safe for paint, very fine abrasive if rust is present, and clear coat if the paint system requires it. Not every chip repair kit is equal. The most important part is getting the paint code right. Even then, age, sun exposure and previous repairs can affect the match.
That is why small repairs on silver, grey, black and pearl white cars often look simple on paper but show imperfections quickly in real life. The colour may be technically correct, but the finish can still sit too flat, too dark or too bright against the surrounding panel.
The basic DIY method
Use as little paint as possible. That matters more than most people realise. You are trying to fill the chip, not paint the whole area around it. Apply a tiny amount into the centre and let it settle. If the chip is deep, build it in light layers rather than trying to fill it in one go.
Rushing this stage usually creates a blob that sits above the surrounding paint. Once that happens, people often try to wipe it back while it is still tacky, which smears the repair and enlarges the problem. Patience gives you a cleaner result.
If your touch-up system includes lacquer, apply that only once the colour coat has cured properly. Again, less is more. A heavy clear coat can leave the repair more obvious, not less.
When DIY works and when it does not
DIY touch-ups are best for very small chips where the main goal is protection rather than perfection. They can stop exposed metal from deteriorating and make damage less noticeable from a normal standing distance. For older daily drivers, that may be all you need.
But there are clear limits. If the chip sits on a sharp body line, the front edge of a bonnet, near a headlamp, or on a freshly polished panel, even a decent home repair can still stand out. The closer the panel is to eye level and the more the light hits it, the easier it is to spot texture, colour mismatch and uneven lacquer.
That is why people often attempt a quick fix, then end up booking the car in anyway. A poor touch-up can still be corrected, but it may take more prep and refinishing work than the original chip would have needed.
How to fix car paint chips with a professional finish
If you want the repair to blend properly, the process is more involved than dabbing paint into the mark. A professional repair starts by assessing the extent of the damage, not just the visible chip but the condition of the surrounding paint. If the impact has fractured the edges, those weak areas need stabilised. If there is contamination or corrosion, that has to be removed before refinishing begins.
From there, the damaged area is prepared carefully, primed where needed, colour matched, and refinished to restore both the paint and the gloss level. On metallic and pearlescent finishes, blending technique matters just as much as colour choice. That is the difference between a repair that catches your eye every time and one that disappears into the rest of the panel.
SMART repair methods can often deal with localised paint chips efficiently, especially where full panel repainting is not necessary. That keeps the job targeted and cost-conscious while still delivering a much better finish than most home kits can manage.
Why paint chips should not be ignored
A small chip can turn into a larger repair if left exposed. Water, road salt, winter grime and repeated washing all work their way into damaged areas. On steel panels, that can lead to rust. On bumpers, the issue is less about corrosion and more about appearance, because the damaged paint can start to lift or peel around the impact point.
There is also the resale side of it. One or two stone chips are normal wear, but clusters across the bonnet or obvious chips on doors and arches can make a car look tired well before its time. Buyers notice cosmetic neglect quickly. So do lease inspectors and part-exchange assessors.
Fixing chips early is usually cheaper and simpler than waiting until the surrounding paint breaks down.
Common mistakes that make chip repairs look worse
The first is using the wrong paint match and assuming close enough will do. On a white van, maybe. On a modern metallic car, not really. The second is overfilling the chip. The third is skipping prep because the damage looks too small to matter.
Another common issue is trying to polish the repair too soon. If the paint has not cured, you can pull, mark or dull it. Even when cured, aggressive polishing on a tiny touch-up area can flatten the shine unevenly or expose the edges of the repair.
Temperature matters too. Cold conditions, damp air and poor lighting all make home repairs harder. A touch-up done on a freezing driveway in the middle of winter is unlikely to give the same result as a controlled bodyshop repair.
Should you repair it yourself or book it in?
That depends on your expectations. If the chip is tiny, the car is a working daily runabout, and you mainly want to stop corrosion, a DIY repair can be a sensible short-term fix. If the damage is on a prominent panel, the car is newer, on finance, leased, or simply something you take pride in, a professional repair is usually the smarter move.
It also depends on how many chips you are dealing with. One isolated mark is manageable. A bonnet peppered with stone chips is a different job altogether. In that case, spot touching each one can leave the panel looking patchy. Proper refinishing gives a far more even and lasting result.
For drivers around Glasgow and the surrounding areas, convenience matters as much as the finish. When you rely on your car every day, the best repair option is often the one that gets the damage sorted properly without dragging the process out.
The result you should aim for
A good chip repair should do two things. It should protect the panel, and it should stop the damage drawing attention every time you look at the car. That does not always mean a full repaint. It does mean being realistic about what a small bottle of touch-up paint can and cannot achieve.
At Unique Bodywork, we see plenty of paint chip damage that starts small and gets worse because it was left too long or tackled with the wrong materials. Sometimes a neat local repair is all that is needed. Sometimes the better value is fixing it properly first time, especially when the chip sits on a visible panel.
If you are deciding how to deal with a paint chip, the simplest rule is this: protect it quickly, but do not settle for a repair that annoys you every time you open the garage door.