
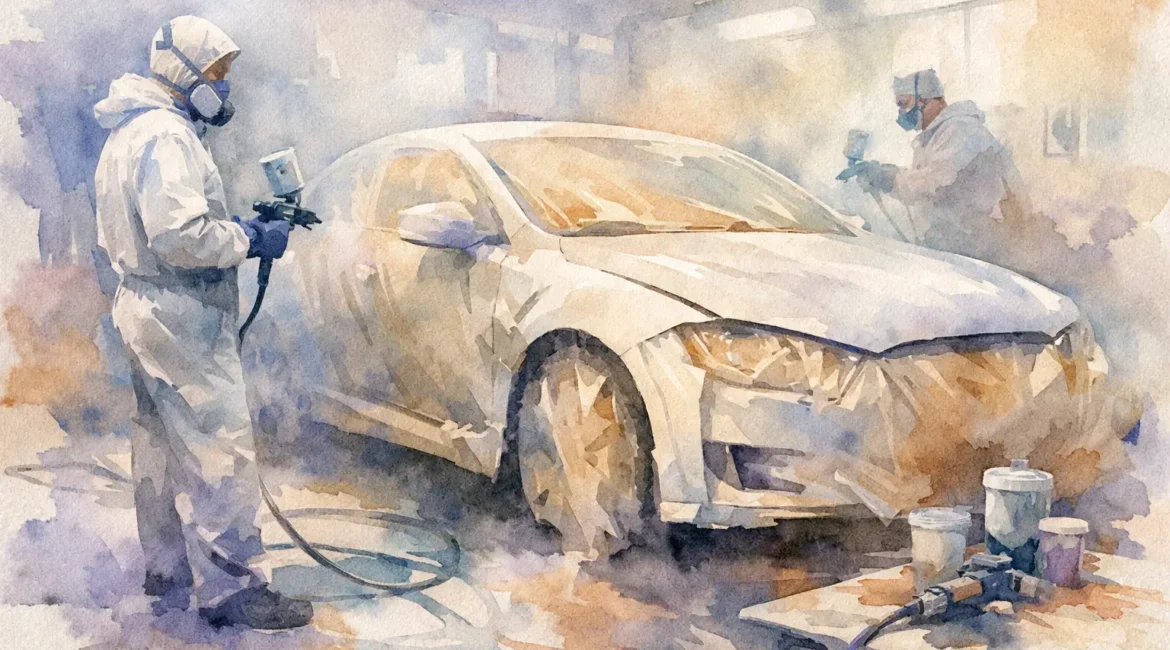
A respray can make a tired, scratched or faded vehicle look showroom fresh again, but the finish is only ever as good as the preparation beneath it. If you are searching for how to prepare car for respray, the key point is simple: proper preparation is not just washing the vehicle before it goes into the paint booth. It means identifying damage, dealing with contamination, making sensible repair decisions and giving the bodyshop the information they need to achieve an even, durable result.
For drivers across Glasgow and the surrounding area, a professional respray can be a practical way to restore pride in your car, protect its value and remove the visible evidence of daily driving. Whether you need one panel painted after an accident or want a full colour refresh, preparation is what separates a short-lived cosmetic cover-up from a finish that looks right in daylight, rain and close inspection.
Start with an honest assessment of the bodywork
Before thinking about paint colour or gloss level, look carefully at the condition of the panels. Paint will not hide dents, rust, warped metal, loose trims or previous poor repairs. In fact, fresh paint can make underlying imperfections more obvious because the surface reflects light so clearly.
Walk around the vehicle in good natural light and note any scratches, chips, corrosion, peeling lacquer, parking dents and panel gaps. Check lower door edges, wheel arches, sills, bumpers and the bonnet closely. These areas take the brunt of road salt, stone chips and kerbside knocks, particularly through a Scottish winter.
It is also worth considering why you want the respray. A small scuff on a bumper may only need a localised SMART repair, while widespread lacquer peel or faded paint may justify repainting several panels. A full respray is a bigger investment, so it should be chosen because the overall condition and your plans for the car make it worthwhile.
Do not paint over rust or unstable old paint
Rust needs to be removed and treated properly before painting. Simply sanding it smooth and applying paint over the top may improve the appearance for a short time, but corrosion can return beneath the new finish. The same applies to cracked filler, lifting lacquer and badly applied paint from an earlier repair.
A reputable bodyshop will strip back the affected area, repair the panel where needed, apply the correct primers and build the surface back up before colour is applied. This takes more time than a quick cosmetic job, but it protects the quality of the respray and avoids paying twice for the same problem.
Clean the car thoroughly, but leave the sanding to professionals
A clean car gives the repairer a clear view of the damage and prevents loose dirt being transferred into the workshop. Wash the exterior thoroughly, including wheel arches, shuts, panel edges and around badges or handles. Remove bird droppings, tree sap, road film and any heavy tar deposits if possible.
Avoid applying fresh wax, polish, ceramic coating or silicone-based tyre dressing before dropping the car off. These products can create contamination issues during paint preparation, especially around panel edges and trims. If you have recently protected the paintwork, tell the bodyshop. It is not a problem when they know in advance, but it may affect the cleaning and degreasing process required.
Unless you have experience in vehicle refinishing, do not start sanding visible scratches yourself. Uneven sanding, overly coarse paper or sanding through an edge can create extra work and increase the repair cost. Professional preparation involves carefully feathering damaged paint, shaping repairs, using fillers only where necessary and applying primers suited to the panel material. It is skilled work, not simply a case of making the surface feel smooth.
Remove personal items and make access easy
Preparing the car also means making the job straightforward for the bodyshop. Empty the boot, glove box, door pockets and centre console, particularly if work may involve rear quarters, door shuts or interior trim removal. Take out child seats, personal documents, loose accessories and anything valuable.
If the vehicle has locking wheel nuts, make sure the key is available. Mention any alarms, immobilisers, dash cameras, parking sensors, aftermarket spoilers or body kit parts that may need extra care. The more information the repairer has at the start, the less chance of avoidable delays once work begins.
You should also take a few clear photographs of the vehicle before it is collected or dropped off. This is sensible for any repair job and gives you a useful record of its condition. For insurance work, photos of the original damage can also support the claim process.
Decide what should be painted and what should be repaired
One of the most common misunderstandings around resprays is that every paint defect requires the whole car to be painted. It does not. Modern paint matching and blending techniques often allow a damaged panel to be repaired and blended into adjacent panels, producing a natural result without the cost of a complete respray.
That said, there are situations where painting a larger area is the right choice. Metallic and pearl colours can be difficult to match perfectly from one panel to another. A car with widespread sun fade, multiple old repairs or peeling lacquer may look patchy if only one panel is repainted. The right solution depends on the paint type, vehicle age, damage location and the standard of finish you expect.
Discuss your priorities honestly. If you are preparing a well-kept car for sale, a targeted repair may provide the best value. If it is a vehicle you intend to keep, restore or customise, more extensive preparation and paintwork could be the better long-term option. A good bodyshop should explain the difference clearly rather than push you towards work you do not need.
How to prepare a car for respray with insurance repairs
If the need for paintwork follows an accident, do not rush into authorising a quick repair before the full damage is assessed. A scraped bumper may have damaged clips, brackets, sensors or reinforcement behind it. A dented wing can also affect panel alignment or reveal damage to nearby components.
Keep a record of the incident, take photographs and retain any claim reference details. If another driver was at fault, specialist support with non-fault accident claims can make the process less stressful while ensuring the vehicle is repaired to the proper standard. The priority should be restoring the car safely and correctly, not accepting a finish that looks acceptable only from a distance.
For privately funded repairs, ask for a clear estimate that separates the repair work from the paintwork where possible. This helps you understand whether the cost is driven by panel damage, corrosion treatment, blending, replacement parts or the respray itself.
Choose the paint finish with realistic expectations
Paint codes are useful, but they are not the whole story. Factory colour can vary slightly between production batches, and years of sunlight, weather and washing can change the appearance of existing paint. This is why professional colour matching often involves checking the car itself rather than relying only on the code on its identification plate.
Tell the bodyshop about any previous paintwork, vinyl wraps, custom finishes or ceramic coatings. If you are changing colour completely, ask what will be painted and what will remain in the original shade. Door shuts, the engine bay, boot apertures and under-bonnet areas can add significant labour to a full colour change. There is a major difference between an exterior colour refresh and a complete colour conversion.
Also be clear about your expectations. A quality bodyshop will aim for an excellent finish, but a daily-driven vehicle with age-related wear may not need the same level of strip-down and restoration as a show car. Matching the scope of work to the car and your budget is the sensible approach.
Leave time for curing and aftercare
Once the respray is complete, fresh paint needs time to cure. Your repairer will advise when it is safe to wash the car and when stronger products such as waxes, polishes or ceramic coatings can be applied. Following that advice matters. Aggressive washing or early polishing can affect a newly painted surface before it has fully hardened.
For the first few weeks, wash gently with a pH-neutral vehicle shampoo and a clean mitt. Avoid automated car washes with harsh brushes, do not pick at dust nibs or small marks, and keep bird droppings off the paint as quickly as possible. If you notice anything that concerns you after collection, contact the bodyshop promptly rather than attempting a DIY fix.
A respray should make your car look cared for again, not create another job to worry about. Bring the vehicle in for a proper inspection, be open about its history and let experienced repairers handle the preparation that cannot be seen once the paint is on. That is how you get a finish that looks sharp now and continues to do your car justice on the road.