
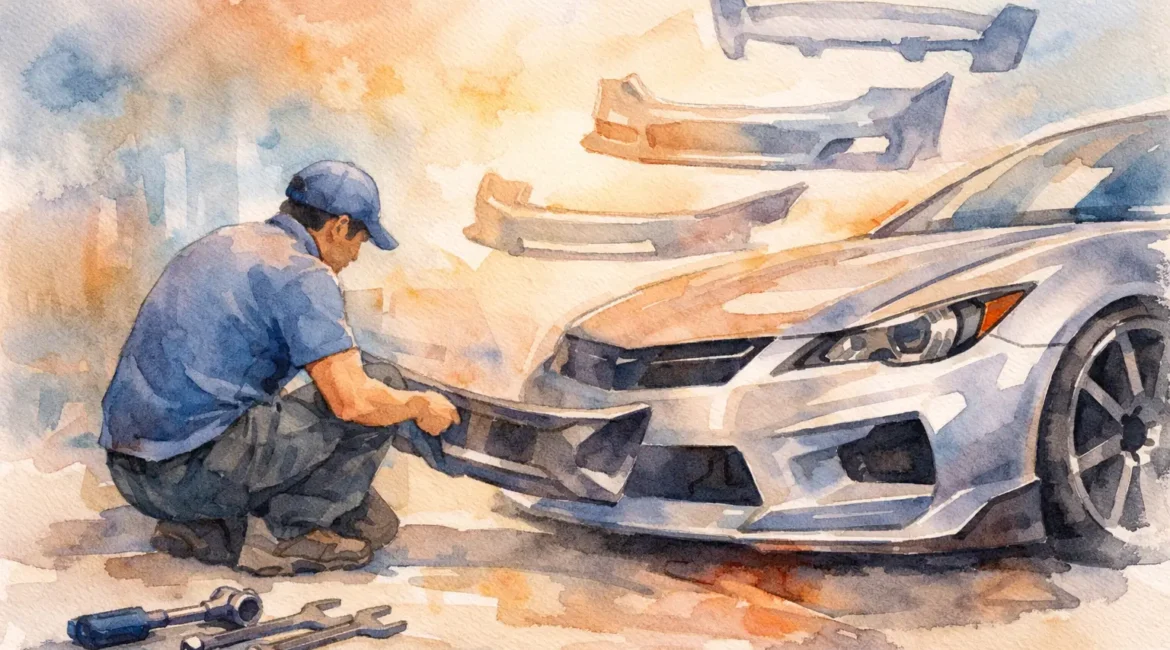
A body kit can make a car look sharper in a day or leave it rattling, cracking and sitting unevenly within a week. That is why a proper body kit installation guide matters. The difference is rarely the kit alone. It comes down to preparation, fitment, paint, and whether the work is carried out with the same care you would expect from any quality bodyshop repair.
For most drivers, the goal is simple. You want the car to look better, not bodged together. For enthusiasts, the standard is even higher. Panels need to sit straight, gaps need to be consistent, and the finish has to match the rest of the vehicle. If any part of that process is rushed, the result shows immediately.
What a body kit installation guide should cover
A proper body kit installation guide is not just about screwing on a front splitter and hoping for the best. It starts with choosing the right kit for the vehicle, checking the quality of the parts, and confirming whether trimming, filling or adjustment will be needed before paint ever goes near it.
That last point catches people out. Many kits are sold as direct fit, but direct fit does not always mean perfect fit. Some need light modification. Others need much more time to line up correctly. This is normal, especially with lower-cost aftermarket kits. The real question is whether the installer knows how to correct those issues without compromising the finish.
Material also matters. ABS plastic tends to be more forgiving for road cars because it has a bit of flexibility and usually fits better out of the box. Fibreglass is common and can look excellent, but it often needs more prep work and can crack if poorly fitted or knocked. Polyurethane is durable, though heavier and sometimes trickier to paint properly. There is no single best option for every car. It depends on budget, expected use and how close to factory fit you want the final look.
Before fitting starts
The first stage is inspection and test fitting. This is where experience saves time and money. Each bumper, skirt, lip or spoiler should be checked against the vehicle before paint. If you paint first and discover poor alignment later, you are paying twice.
During test fitting, the installer looks at mounting points, panel gaps, arch clearance, door clearance and the way each component sits against the existing body lines. Some kits need brackets, bonding, additional fixings or careful trimming around edges. None of that is a problem when it is planned properly. It becomes a problem when someone tries to force parts into place.
This is also the right stage to think practically. A low front bumper may look great in photos, but if you use the car every day on rough roads, speed bumps and steep driveways, too much drop can become a nuisance very quickly. Side skirts and rear spats also need enough clearance to cope with normal driving. Style matters, but so does living with the car afterwards.
Surface preparation makes the finish
Most people focus on the final look, but the finish is won or lost in the prep. New body kit parts often arrive with mould release residue, transport marks, uneven surfaces or minor imperfections. These need to be cleaned, sanded and corrected before primer and paint are applied.
Fibreglass parts in particular may need extra filling and blocking to get a smooth, straight surface. If this stage is skipped or rushed, paint can sink, edges can look rough and the whole kit can appear cheaper than it really is. Good prep takes time, but it is the reason a body kit can look like part of the car rather than an add-on.
Paint matching matters just as much. A fresh front bumper or set of skirts that are even slightly off in colour will stand out. That is especially true on metallic, pearl and older faded paintwork. A proper refinishing process takes into account the age of the vehicle, the condition of the surrounding panels and whether blending is needed for the best overall result.
Fitting the kit properly
Once the parts are prepped and painted, final installation can begin. This stage should be precise, not rushed. Parts need to be secured using the correct combination of fixings, bonding methods and alignment checks. What works on one kit will not always work on another.
For example, some front splitters can be safely mounted with a mix of mechanical fixings and specialist adhesive. A full replacement bumper may need original-style clips, brackets and reinforcement points to keep it secure and prevent movement at speed. Side skirts often need careful bonding and even pressure across the length of the panel so there are no waves, gaps or weak points.
This is where cheap fitting often reveals itself. If a kit is attached with the bare minimum, you may notice sagging corners, vibration, poor shut lines or parts loosening over time. In bad cases, panels can rub paint off adjacent areas or detach altogether. Proper installation is about appearance, but it is also about safety and durability.
Common mistakes people make
The biggest mistake is buying on price alone. A very cheap kit can end up costing more once you factor in poor fit, extra labour and repainting. That does not mean every expensive kit is perfect, but it does mean the part itself is only one part of the budget.
Another common issue is fitting without a full plan. Owners sometimes install a front bumper first, then realise later that the side skirts and rear styling do not match the line or height of the rest of the car. The result can look uneven. Even if you are fitting the kit in stages, it helps to know the finished look you are aiming for.
Painting before test fitting is another costly error. So is assuming a body kit is a simple DIY weekend job. Some minor accessories are straightforward enough, but full kits require proper tools, bodywork knowledge and paint facilities. If the aim is a clean, long-lasting finish, professional fitting is usually the better option.
Is professional installation worth it?
In most cases, yes. Not because every kit is difficult, but because bodywork has very little room for guesswork. A panel can be a few millimetres out and still look wrong every time you walk towards the car. Getting that fit right takes patience, the right equipment and an eye for detail.
Professional installation also gives you a better chance of avoiding hidden problems. That might include weak mounting areas, old accident damage behind the bumper, corrosion near fixing points or paint issues on surrounding panels that should be dealt with at the same time. Spotting those issues early prevents bigger problems later.
For drivers around Glasgow and the surrounding areas, convenience matters as much as quality. If the car is your daily transport, you want the work handled properly and without unnecessary delays. That is one reason many customers choose a bodyshop that can manage the whole process in one place, from test fit and prep to paint and final installation.
Choosing the right look for your car
Not every car suits an aggressive kit, and not every owner wants one. Sometimes a subtle front lip, side skirts and a tidy rear spoiler give a much cleaner result than a full wide-body conversion. The best choice depends on the vehicle, your budget and how you use it.
Factory-style kits usually give the safest result for daily drivers because they follow the original body lines and are less likely to create fitment headaches. Aftermarket custom kits can be more distinctive, but they often need more labour to achieve a proper finish. That can still be worth it if the styling is right and the installation is done well.
Think about wheel fitment and ride height too. A body kit changes the visual balance of the car. If the wheels sit too far in or the suspension height does not suit the new lines, the final result can feel unfinished. You do not need to build a show car, but the whole package should make sense together.
Aftercare once the kit is fitted
Once installed, treat the new panels as part of the bodywork, not an indestructible add-on. Give fresh paint time to cure properly before harsh washing or polishing. Be cautious with kerbs, ramps and steep entrances, especially if the front end sits lower than standard.
It is also worth checking fixings and bonded areas after the first period of use, particularly on newly fitted aftermarket parts. A quality installation should hold firm, but a quick inspection offers peace of mind and helps catch any small issues before they become larger ones.
If you are investing in a body kit, the finish should look intentional, properly aligned and built to last. That only happens when the parts are chosen carefully and fitted with real attention to detail. Done right, a body kit does more than change the shape of a car. It gives it presence, and that is always worth doing properly.