
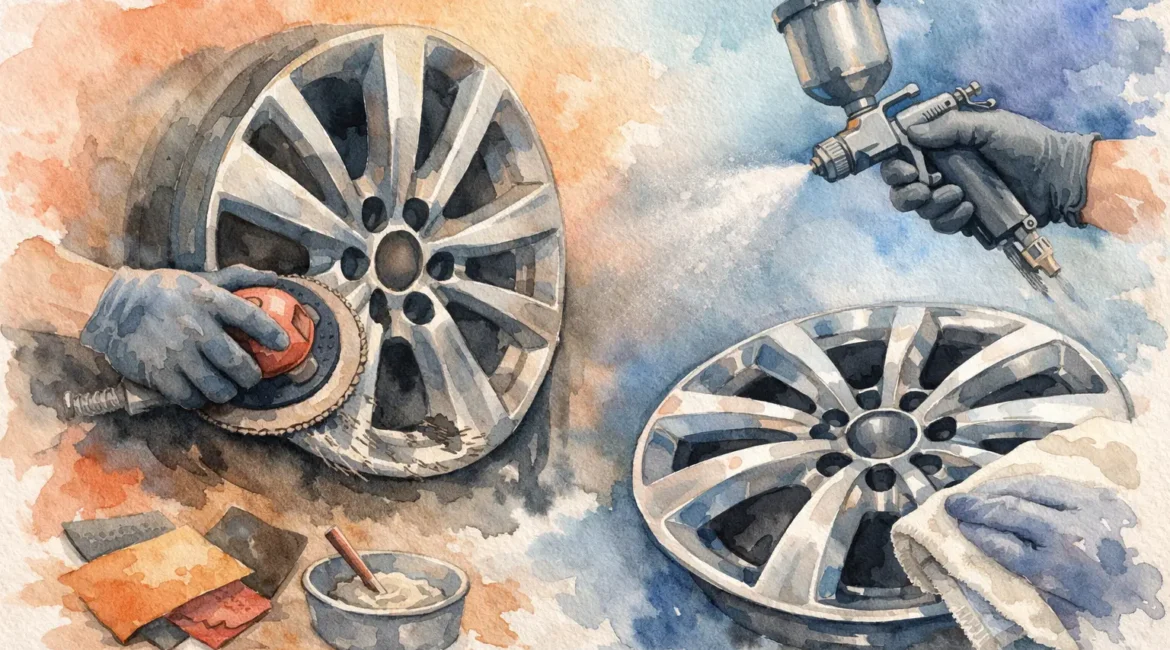
That dull scrape along the rim might look minor, but kerb damage has a habit of making the whole car look tired. If you are wondering how to refurbish kerbed alloys, the first thing to know is that the right fix depends on how deep the damage is, what finish the wheel has, and how good you want the final result to be.
A light scuff on a painted alloy is very different from deep gouges on a diamond-cut wheel. Some jobs can be improved at home with patience and the right materials. Others need proper workshop equipment to get the wheel back to a standard that actually lasts. If you want the car looking sharp again and you do not want to risk making it worse, that difference matters.
How to refurbish kerbed alloys without making them worse
Most kerbed alloys are damaged on the outer lip where the wheel has rubbed against a kerb at low speed. The good news is that cosmetic damage is usually repairable. The less good news is that many DIY attempts fail because people rush straight in with filler or paint before checking the wheel properly.
Start by cleaning the wheel thoroughly. Brake dust, road grime and tyre dressing will hide the true extent of the damage, and they will also stop paint and filler from bonding properly. Use a proper wheel cleaner, rinse it well and dry the area fully before inspecting it.
Once the wheel is clean, check whether the damage is purely cosmetic or something more serious. If the wheel has cracks, a flat spot, a bend or a chunk missing from the rim, that is not a home repair job. The same applies if the tyre is losing pressure after the scrape. In those cases, the safest move is to have the wheel assessed by a professional refurbisher.
If the damage is only light kerbing, you can usually move on to sanding and smoothing the affected area. The aim is not to grind away loads of metal. It is to remove rough edges, level the scrape and create a smooth surface that can be primed and painted.
What you need before you start
If you are tackling a basic painted alloy at home, keep the kit simple and decent quality. You will generally need wet and dry sandpaper in a few grades, masking tape, panel wipe or degreaser, alloy filler if the scrape is deeper, primer, matching wheel paint and a lacquer. A microfibre cloth and patience help just as much as the materials.
There is a reason professional repairs tend to look better, though. Matching the original finish is the hard part. Silver painted alloys are often manageable. Anthracite, gloss black and machine-finished wheels are much less forgiving. If the colour is slightly off or the lacquer sits unevenly, the repair can stand out from the other three wheels.
Step by step: how to refurbish kerbed alloys at home
1. Clean and inspect the wheel
As mentioned, start with a proper clean. Remove any stubborn brake dust from the damaged edge and make sure the wheel is dry. Then inspect the rim in good light. If you can catch a fingernail in the scrape, it may need filler after sanding.
2. Mask the tyre and surrounding areas
Masking properly saves a lot of frustration later. Protect the tyre wall carefully and cover any part of the wheel that does not need repair. Overspray and accidental sanding marks are common on rushed jobs.
3. Sand the damaged area
Use a coarser grade first to knock back sharp edges, then work through finer grades to smooth the surface. Keep the sanding controlled and localised. If you sand too wide an area, you create more repainting work and make blending harder.
For shallow kerb marks, sanding alone may be enough. For deeper gouges, apply a small amount of alloy filler once the area is clean and keyed, then sand it back smooth when cured. The repair should feel level to the touch before you even think about paint.
4. Prime the repair
Apply primer in light coats rather than one heavy blast. Let each coat flash off properly. Rushing this stage is one of the main reasons home repairs react badly or peel later. Once dry, lightly sand if needed to keep the surface smooth.
5. Apply colour and lacquer
Spray the colour in thin, even coats and build it gradually. Then finish with lacquer to protect the repair and bring back the correct sheen. The final look depends as much on application as on the paint itself. Too much paint too quickly and you risk runs, patchiness or a rough texture.
6. Let it cure properly
Do not wash the wheel, fit harsh wheel cleaners or head straight to a hand car wash as soon as it feels touch-dry. Paint needs time to harden. Leave it as long as the product instructions recommend, ideally longer if conditions are cold or damp.
When DIY alloy refurbishment is worth it
Home repair makes sense when the damage is light, the wheel is a standard painted finish and you are realistic about the outcome. If the goal is to tidy up a daily driver and make the wheel look far better than it does now, DIY can do the job.
It is less worthwhile when the vehicle is newer, higher value or being prepared for sale. A poor repair often draws more attention than the original scrape. Buyers notice mismatched wheels, and so do lease inspectors.
There is also the time factor. What looks like a quick Saturday job can easily turn into a full day once you factor in cleaning, sanding, drying time and repeat coats. For plenty of drivers, paying for a proper refurb is simply the more cost-effective choice.
Why some kerbed alloys need a professional repair
Diamond-cut wheels are different
If your alloy has a bright, machined face, it is likely diamond cut. These wheels are not properly restored with a simple sand and paint approach. They need to be stripped, prepared and recut on a specialist lathe to recreate the original finish. Anything less is usually a compromise.
Structural damage cannot be guessed
A wheel that looks only lightly marked can still be bent. If you have steering vibration, uneven tyre wear or air loss after kerbing an alloy, the issue may go beyond cosmetics. That is where a proper inspection matters.
Factory-level finishes need proper equipment
Professional refurbishment is not just about better paint. It is about controlled prep, proper curing and a finish that stands up to weather, brake dust and daily use. That is especially important in the sort of road and weather conditions local drivers deal with across Glasgow and surrounding areas, where wheels take a constant battering from grime, moisture and rough surfaces.
How long does alloy wheel refurbishment last?
That depends on the repair method, the condition of the wheel underneath and how the wheel is used afterwards. A good professional refurb on a sound wheel can last for years with sensible care. A quick aerosol touch-up on a badly prepared surface may only last a few months before it chips or discolours.
Wheel care matters too. Strong acidic cleaners, pressure washing too closely and repeated kerb contact will shorten the life of any finish. If you have just had alloys refurbished, use gentle cleaning products and keep an eye on the tyre pressures. Underinflated tyres can leave the rim more vulnerable to kerb damage.
Is it better to refurbish one wheel or all four?
If only one alloy is damaged, repairing one wheel is often fine. But it depends on age and finish. On older cars, the untouched wheels may have faded slightly, which can make a fresh repair stand out. In that situation, doing two on the same side or all four may give a more even result.
This is especially true with darker finishes and diamond-cut alloys, where any variation is easier to spot. A good repairer will tell you honestly whether a single-wheel refurb will blend in well enough or whether a broader refresh makes more sense.
The cost question drivers usually ask first
Most people want to know whether refurbishing kerbed alloys is worth it compared with leaving them alone. In many cases, yes. Refurbishment is usually much cheaper than replacement, and smart-looking wheels make a real difference to the car’s overall appearance.
It can also help protect resale value. Scuffed alloys suggest the rest of the car may have been neglected, even when that is not true. Clean, tidy wheels give a better impression straight away.
If you want the finish back to showroom condition, especially on more complex wheel designs, this is one of those repairs where experience shows. A specialist can usually save you the trial and error, the mismatched paint and the disappointment of doing the job twice.
If your alloys are kerbed and you are weighing up whether to tackle them yourself or get them done properly, the best approach is the honest one. Light marks can sometimes be improved at home. Deeper damage, specialist finishes and cars you take pride in are usually better in the hands of people who do this every day. A tidy wheel changes the look of the whole car, and done properly, it is money well spent.